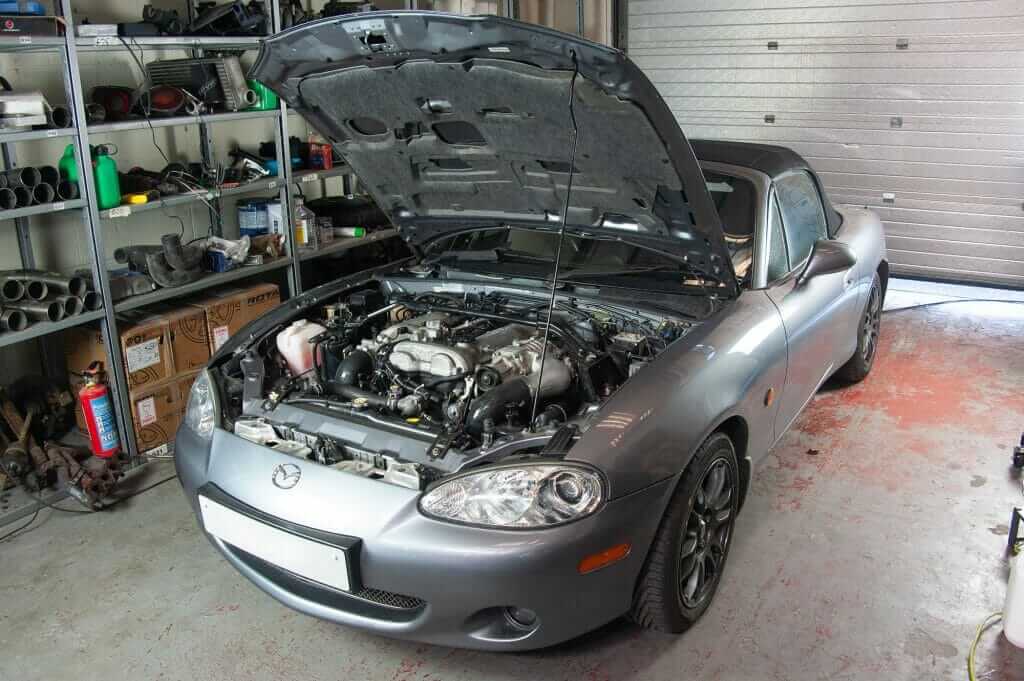
Superchargers offer simple, yet effective bolt-on power. In a single weekend, it is possible to turn an average MX-5 into a ballistic B-road machine. Without any water lines to run or oil returns to drill and tap, there is no easier way to achieve a significant boost in power. Our SR1 Supercharger kit is based around the Salon Motorsport fitting kit, and includes everything you need.
To complete the Salon Motorsport Supercharger Kit install you will need:
- 2.5mm hex key
- 3mm hex key
- 5mm hex key
- 6mm hex key
- 7mm socket
- 10mm socket
- 12mm socket
- 13mm socket
- 13mm spanner
- 14mm socket
- 17mm socket
- 17mm spanner
- Instant gasket
- Silicone sealant
- Loctite
Step 1: Disassembly
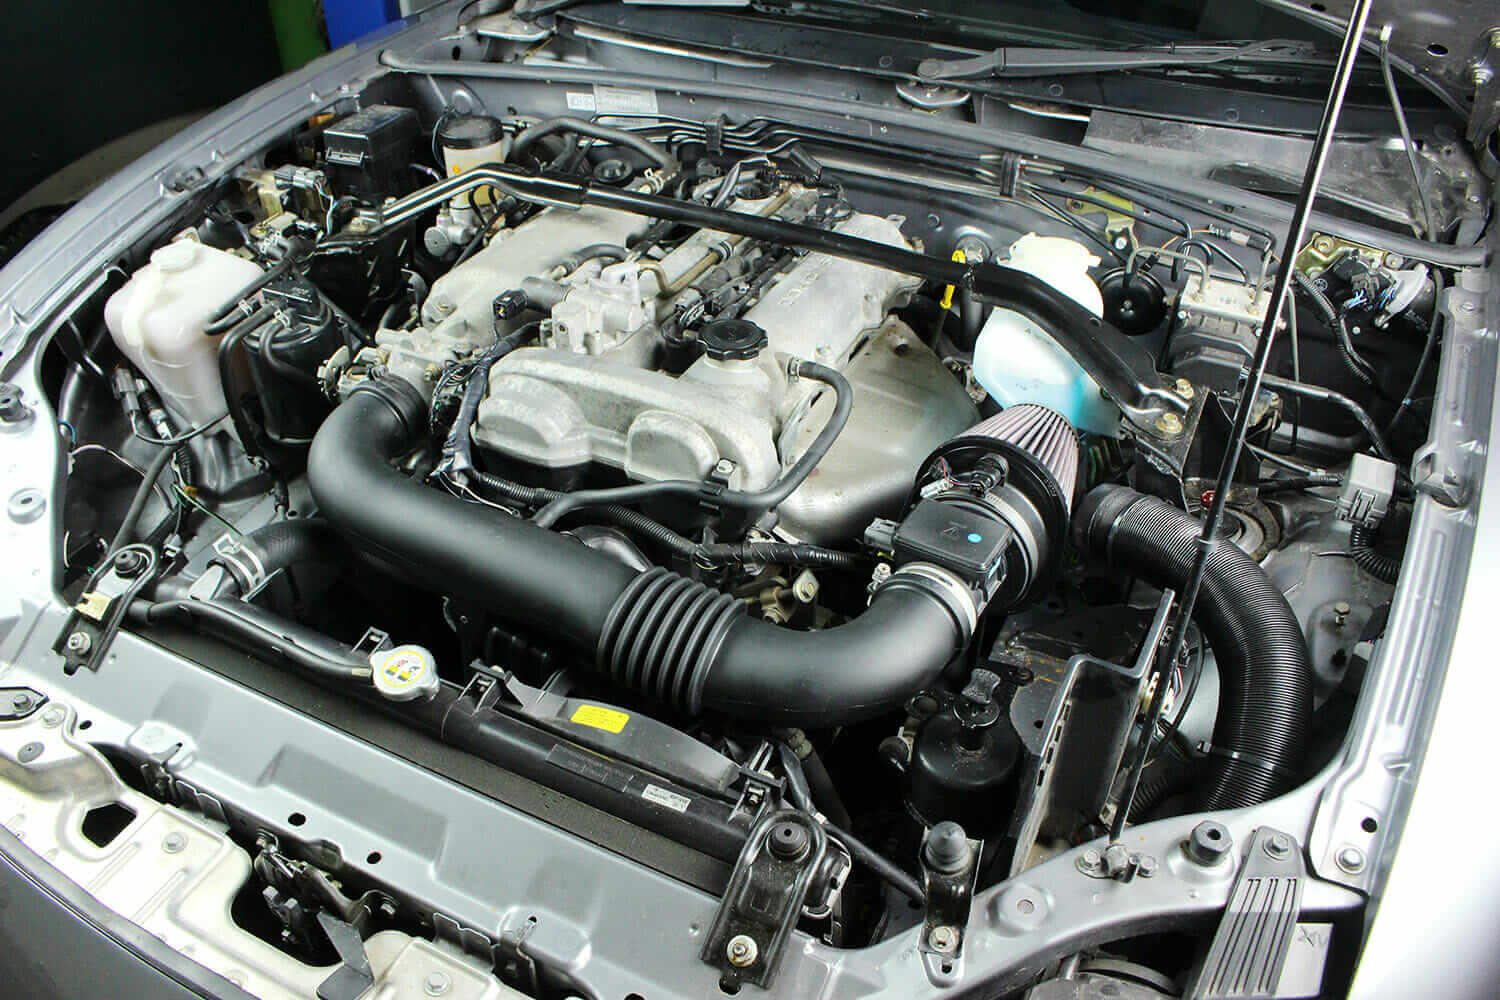 Begin by removing the air filter box, crossover pipe, and cam cover breather hose. If there is a strut brace, remove the horizontal bar for ease of access later on.
 Remove the exhaust heat shield and the engine lifting eye. Retain the bolt from the lifting eye to use with the supercharger bracket. On 1.8s, remove the second-from-front exhaust manifold nut.
- Drain the coolant, unplug the fan then remove the radiator and both the upper and lower hoses.
 Remove the power steering tensioner bracket. Loosen the nut on the top of the power steering line so that it the line can be rotated approximately 90 degrees, out of the path of the intercooler pipework, then tighten. Tilt the pump and remove the belt, then remove the long bolt that the PAS pump pivots on.
 - Remove the washer bottle on 98-05 NBs.
Step 2: Reassembly
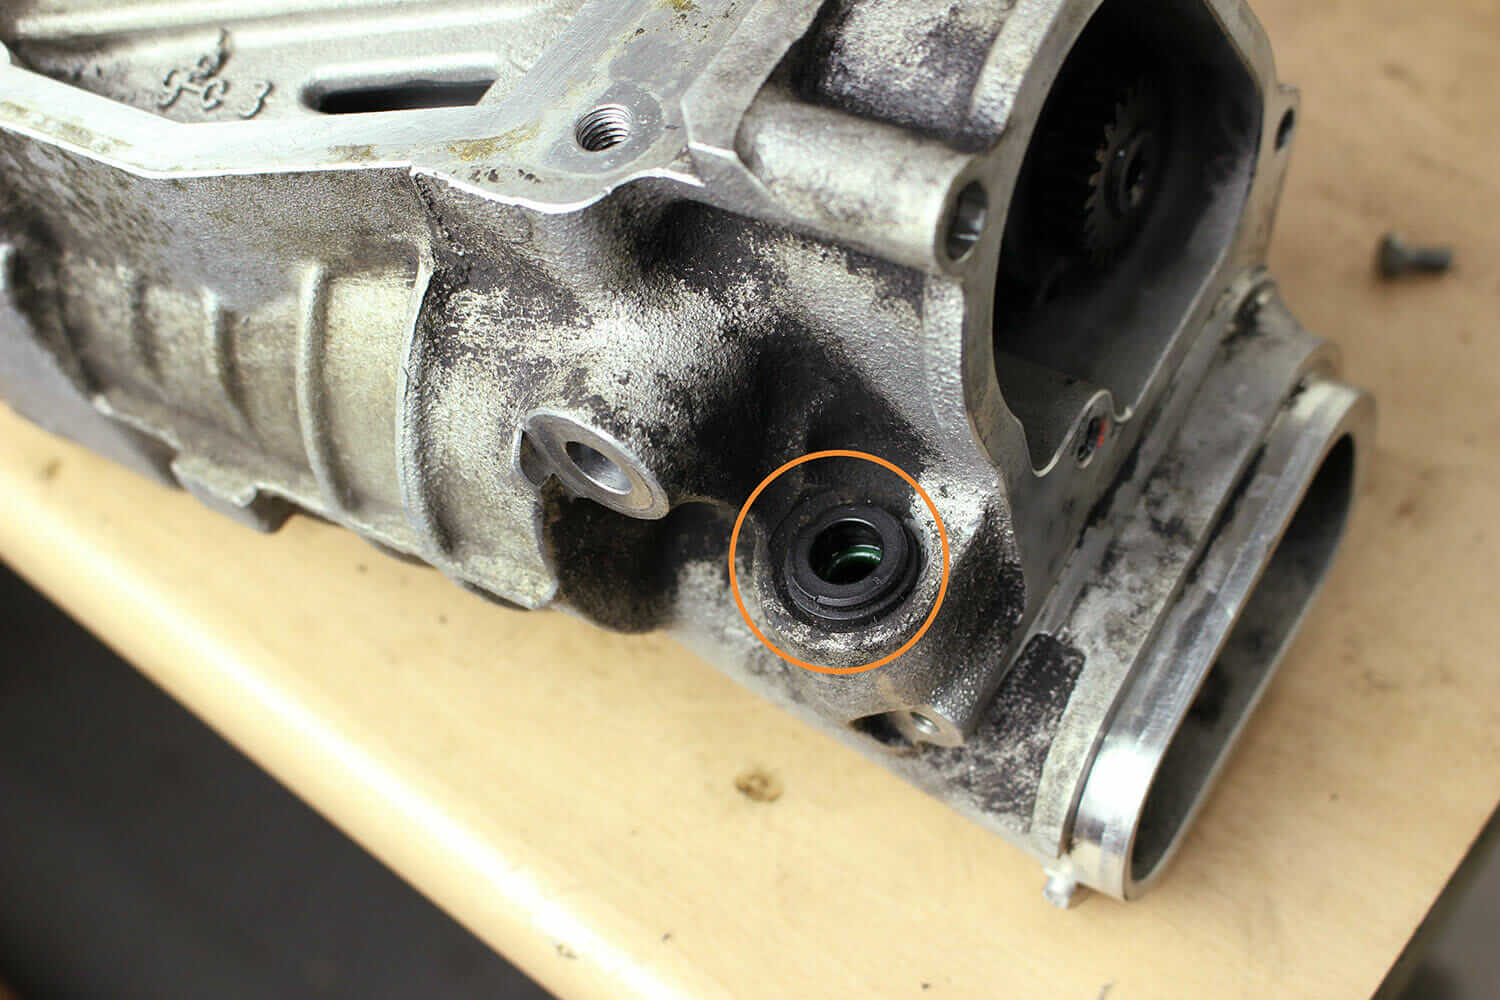
 If you have sourced your own supercharger, fill the open intake hole with silicone sealant, tiger seal or similar.
- Install the vertical supercharger bracket by reinstalling the long bolt, followed by the supplied countersunk bolt and original PAS bracket bolt. Leave bolts finger tight so that it can be adjusted later.
- Install the horizontal supercharger bracket by replacing both bolts in the side of the head on a 1.6, or 1 bold in the head and the exhaust manifold nut that was removed earlier. Leave bolts finger tight so that the supercharger can be aligned later.
- Install the M4 dome headed bolt and large M4 washer that connects both brackets together. Leave finger tight so that the supercharger can be aligned later.
- Hold the vertical supercharger bracket so that the M4 nut is central to the hole, then tighten all the bolts on the bracket. If the nuts are tightened before the M4 bolt has been aligned it may bind on the bracket, making it difficult to tighten later.
- Install the supercharger using the supplied M10 bolts. The castings are slightly different from supercharger to supercharger, so several washers are supplied to shim up the front. Simply use enough washers so that the supercharger case isn’t fouling the bracket. The nut for the forward bolt is easily installed by holding it in the ring end of a spanner with some tape to prevent it from falling out.
- Install the new supercharger belt. It is not important which ribs of the supercharger pulley that the belt is installed on. It can help to loosen the tensioner pulley enough to slide it back over the tensioner bolt boss, as it does not slide all the way back unless it is quite loose. Once the belt is on, wind the pulley back in until it clears the tensioner bolt boss, then tighten the pulley bolt enough so that it sits flat against the bracket once more.
- Align the supercharger so that the belt runs in line with the PAS pulley. If the belt will not align because there is no more adjustment in the bracket, move the belt to different ribs on the pulley.
- Tighten the M4 dome headed bolt to set the alignment, then tighten the bolts that hold the horizontal supercharger bracket. On a 1.8 the bottom bolt can be reached with a 3/8” ratchet from the engine side of the supercharger.
- Apply Loctite to the four grub screws on the Salon Motorsport inlet. Set the bottom and engine-side grub screws so that they are just proud of the casting as they are hard to reach once the inlet is on the supercharger. Set the top and chassis-rail side grub screws so that they are flush, and test-fit the inlet. Adjust the grub screws that are proud so that the inlet can slip on and off with little resistance. Apply instant gasket to the surface of the flange, then tighten the other two grub screws.
- Install the bypass valve on the Salon Motorsport supercharger outlet using Loctite on all bolts. Apply instant gasket to the flange on the supercharger outlet, then install on the supercharger using Loctite on all the bolts again.
- Run a vacuum hose from the supercharger bypass valve actuator to a vacuum source on the intake manifold. Place a silicone cap on the open brass barb.
- The auto tensioner is on an eccentric cam. Rotate the auto tensioner so that it applies maximum tension to the belt and tighten the bolt to hold it in place.
- Set the static belt tension with the idler pulley tensioner bolt. The longest run of the belt between the crank pulley and PAS pulley should have around 1cm of deflection. Lock the tension with the lock nut supplied.
- Attach the slotted bracket to the front of the supercharger with the dome-headed bolt using Loctite, then tighten the tensioner pulley bolt.
- Install the silicone bypass hose.
- Then the rest of the intercooler kit.
- On 1.8 NAs and all NBs, use the 19mm cap to block off the IAC port.
- On 1.6 NAs, undo the phillips screw on the throttle body and position the pipe so that the IAC valve can be connected to the up-pipe.
- On all NAs and NBs, use the 4mm cap to block off the boost control port on aluminium the up-pipe. Install a blow off valve on the 25mm port and run a vacuum line to the intake manifold, then install the intake air temperature sensor.
 If you have sourced your own supercharger, fill the open intake hole with silicone sealant, tiger seal or similar.
 Install the vertical supercharger bracket by reinstalling the long bolt, followed by the supplied countersunk bolt and original PAS bracket bolt. Leave bolts finger tight so that it can be adjusted later.
 Install the M4 dome headed bolt and large M4 washer that connects both brackets together. Leave finger tight so that the supercharger can be aligned later.
 Install the supercharger using the supplied M10 bolts. The castings are slightly different from supercharger to supercharger, so several washers are supplied to shim up the front. Simply use enough washers so that the supercharger case isn’t fouling the bracket. The nut for the forward bolt is easily installed by holding it in the ring end of a spanner with some tape to prevent it from falling out.
 Install the new supercharger belt. It is not important which ribs of the supercharger pulley that the belt is installed on. It can help to loosen the tensioner pulley enough to slide it back over the tensioner bolt boss, as it does not slide all the way back unless it is quite loose. Once the belt is on, wind the pulley back in until it clears the tensioner bolt boss, then tighten the pulley bolt enough so that it sits flat against the bracket once more.
 Apply Loctite to the four grub screws on the Salon Motorsport inlet. Set the bottom and engine-side grub screws so that they are just proud of the casting as they are hard to reach once the inlet is on the supercharger. Set the top and chassis-rail side grub screws so that they are flush, and test-fit the inlet. Adjust the grub screws that are proud so that the inlet can slip on and off with little resistance. Apply instant gasket to the surface of the flange, then tighten the other two grub screws.
 Run a vacuum hose from the supercharger bypass valve actuator to a vacuum source on the intake manifold. Place a silicone cap on the open brass barb.
 Attach the slotted bracket to the front of the supercharger with the dome-headed bolt using Loctite, then tighten the tensioner pulley bolt.
 Install the silicone bypass hose.
 Then the rest of the intercooler kit.

15 comments
I have a 1990 1.6L Miata with power steering and a/c it’s my daily driver and I live in the south in the USA. Will this kit work with both power steering and a/c?
Hi There
I’m afraid this kit doesn’t work with A/C, it does with PAS.
This guide does not mention the extension on the front end of the supercharger that needs to be cut/ground off in order for the Salon Motorsport outlet nozzle to fit onto the supercharger and allow sufficient space to slide the silicon hose & circlip over. I thus assume you cut this off for customers who order the supercharger direct from yourselves? Or is there some other solution that I am unaware of?
Hi Cat,
Yes we do indeed cut this off on the superchargers we supply bought individually or in the kit.
Hey Guys,
Very useful write up, thank you. What I have found is if you remove the plastic insert at step 1 you can tap the hole (M10) and seal with a bolt and rubber o ring. A bit neater and easier to maintain if a leak develops
Is there also a setup without intercooler?
Hi, I have 1.8l NB -04. What ECU option should I choose? And does cars original OBD2 port work as before? Just that Finnish MOT won´t cause any headacke…
Hi Jukka,
Neither ECU choice supports ODB2 i’m afraid.
hi well i intend to buy kir supercharger for my mk2.5 with vvt engine but i have several doubts 1 – what horses would you give away? 2 – do I also have to buy the ecu me221? 3 – Does the kit you sell already include the intercooler injectors and everything you need to buy and install? thanks and regards
Hi will it run for fast road use quite happily without extras like intercooler, uprated injectors uprated clutch or aftermarket ecu? What sort of Bhp will it be outputting on a 91 1.6?
Hi David,
The intercooler is quite important to making the whole kit work, as well as the upgraded injectors as the stock ones run out of puff.
The kit as it stands on a 1.6 makes around 180bhp, with an overlap pully around 195bhp.
With the Power Steering high pressure line rotated (and no longer supported by the bracket) is it susceptible to leakage or stress/failure? What has been your experience with this? Thanks.
Hi Graeme, we’ve done hundreds of miles on track and thousands on the road with no failures!
With installing the M45 supercharger on a 98 NB with a 02 vvti NB motor using the sr1 supercharger kit do you need to have powersteering cause ive deleted both ac and powersteering and is it possibly to run it on stock ecu?
Hi Jacob. You can install the kit on a car with both PAS and AC deleted. In this instance we’d install a timing belt idler pulley in place of the PAS pulley to ensure a good belt wrap on the supercharger and then run a slightly shorter belt – these are available on the website. However, it will not be possible to run this kit on a standard ECU. Let us know if you have any more questions, James